One of the downfalls to being able to bake is that everyone wants you to make their birthday cakes, usually with very short notice. One of the great things about being able to bake is that you can give someone you love a gift that you took the time to make, and it’s unlikely to be given by anyone else.
But what kind of cake do you make for someone who doesn’t have a thing?
Normally people have a thing they love, that is easy to turn into a cake; dogs, make-up, shoes, favourite TV show; you name it. But some people don’t have that thing, and that’s when it becomes difficult to design your cake; gone are the days of plain old iced chocolate cakes.
After much time spent Googling, I decided to make a giant cupcake; who doesn’t love cupcakes?!
Giant cupcakes are actually super easy to make too; which is one of the things I love the most about them! You can buy a silicon cupcake mould from quite a few places for around $10; I think I bought mine from BIG W.
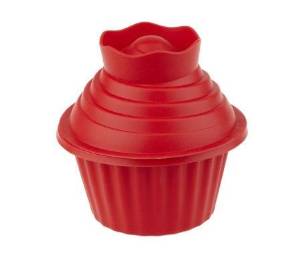
The first step is to creating your giant cupcake is to bake your cake using the moulds. So whip together your favourite cake batter, pour into the moulds and bake at 160 degrees until a skewer inserted in the centre comes out clean.
Note: For cakes like this, I recommend using a mud cake recipe; they hold together well under pressure and weight.
Once your cakes are baked through, take them out of the oven and set aside until completely cool. Remove from the moulds and trim to make your cakes flat. You will need to wash the base of the mould for the next step.
Next you are going to make a casing for the base of your cupcake; otherwise known as the patty. Melt 200g of chocolate (I find dark chocolate is easiest to work with) in the microwave. I put mine in for 40 seconds at a time and stir in between, until the chocolate is completely melted and smooth.
Your silicone mould doesn’t need any grease, so pour the melted chocolate straight into the mold and swirl around, coating the entire mould. You will need to continue to swirl the chocolate until your chocolate starts to set. At this point, your chocolate should be spread evenly. You will not need to use any utensils for this; your chocolate won’t come out as smooth if you do. If you are unsure whether the mould is thick enough, you can melt another 100g and repeat the process to add an extra layer. Only do this after the first layer has set.
Once the chocolate is completely set, you can start building your cake. The chocolate casing is going to stay in its mould for this step. This will reduce the risk of cracking the base.
You will need to make your preferred filling for your cake. I personally love buttercream! Again, there are hundreds of recipes on-line for cake fillings; I just use a mixture of butter, icing sugar and vanilla.
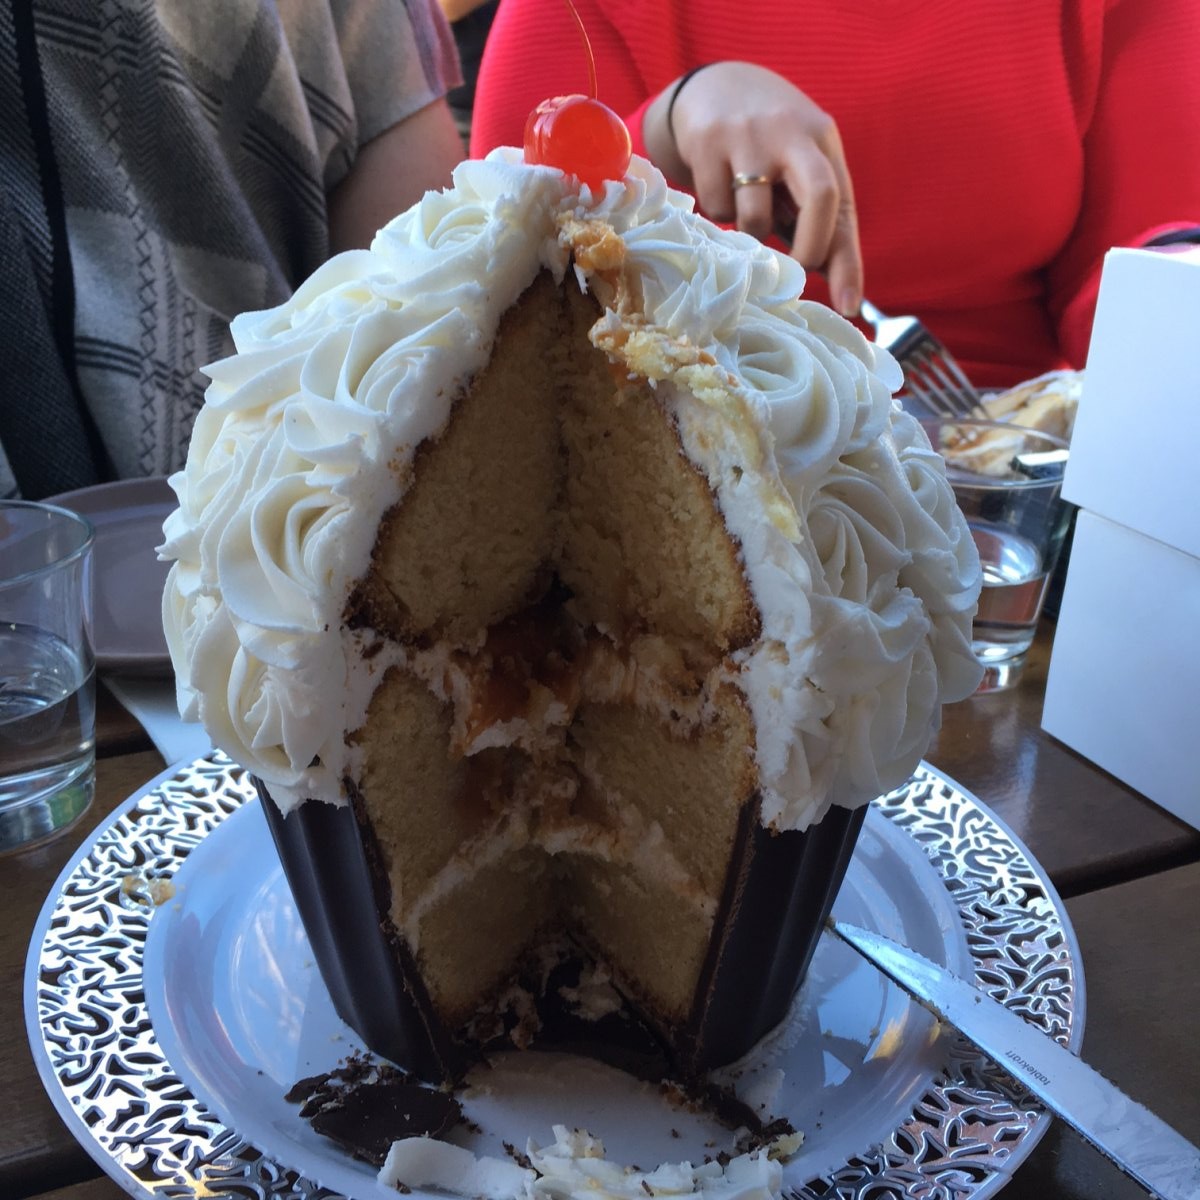
Cut the base of your cake in half horizontally and spread the bottom piece with buttercream or filling of choice. Gently drop this piece of cake into the chocolate mold, followed by the second piece.
Now the hard bit is done! You are ready to decorate your cake. Slowly pull the rubber mould away from the chocolate base. Cross your fingers and hope that nothing cracks in the process! What you should be left with is a perfect chocolate encased patty.
Buttercream the top of the cake and place the top of the cupcake on top. Lightly buttercream the top of the cupcake to prepare for decorating the cake. The buttercream acts as a base coat; if any of your decorative piping misses leaves a gap, it won’t be obvious because of your base coat.
Now for the easiest part! Piping! Well it is easy if you know how to pipe. It’s also very easy to learn; it’s all about practice and buttercream is inexpensive, so you could really practise all day long.
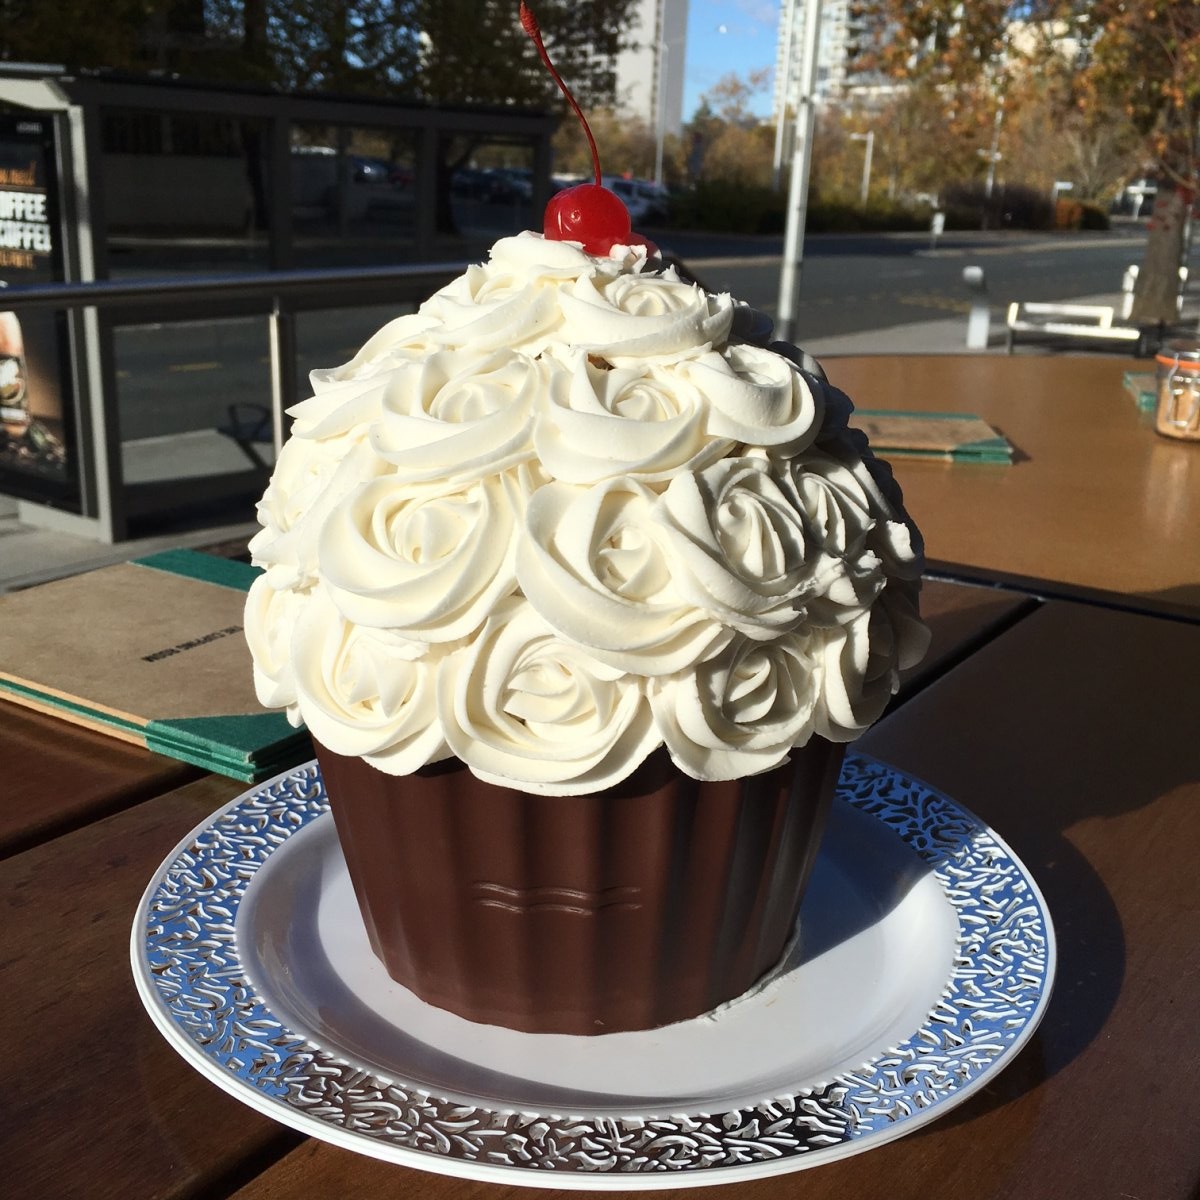
You will need an 1M piping tip to make rosettes. Set your piping bag up and fill with buttercream. You can add color to your buttercream or you can take the lazy approach like me and just use it in its white form. Carefully pipe rosettes over the top of the cupcake. I like to start at the top of the base (where the chocolate starts) and pipe up to the top; it seems to be neater. You can watch a demonstration on how to pipe rosettes here.
My favourite part of cupcakes are the maraschino cherries, but you can decorate with anything you like; sprinkles, glitter, whatever your heart desires.
I guarantee your giant cupcake will be a hit! Mine certainly was.