One of life’s essential skills is knowing how to change a tyre on your car. Changing a car tyre is not that difficult.
If you haven’t done it before, simply follow our step-by-step guide with Will Caldwell from Canberra Toyota and you’ll be on your way again in no time.
1. Locate your spare. Most cars will have the spare tyre in the boot, under the cover. If you have a 4WD, your tyre may be attached to the back of your car. If you’re not sure, or can’t find your spare, have a read of your owner’s manual. If all else fails, a quick google of your car’s make and model should give you the information you need.
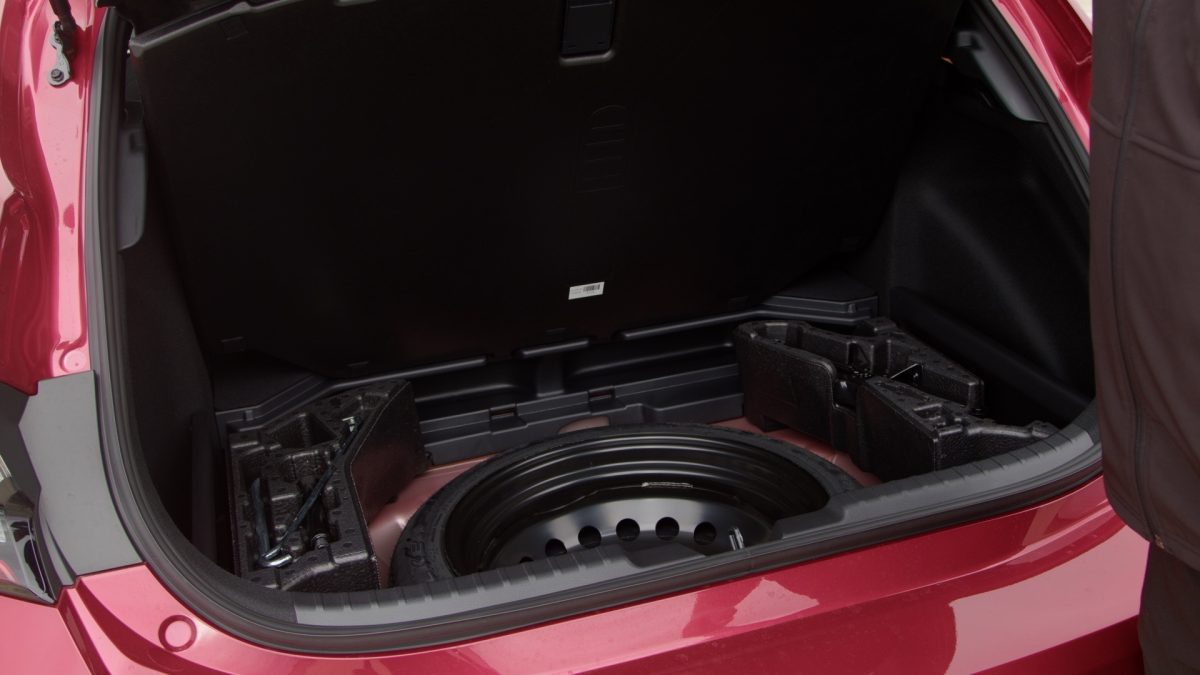
The spare tyre is normally located in the boot of the car, alongside the jack and tyre iron. Photo: Michelle Kroll.
2. Locate your jack, tyre iron and other tools necessary for changing your tyre. Most cars will have all the related tools located alongside your spare, usually in the boot under the cover. Some cars will have these items located in compartments on the boot door, or even in the side of the boot. Again, your owner’s manual or a quick google should help if you’re struggling to locate the tools in your car.

The jack must be placed on the jacking point of the car to ensure it lifts the whole vehicle. Photo: Michelle Kroll.
3. Get the jack into position. The jack is used to lift the car, to allow you to safely remove the tyre. Make sure it’s in the right position – most cars will have a jacking point, that will engage with your jack.
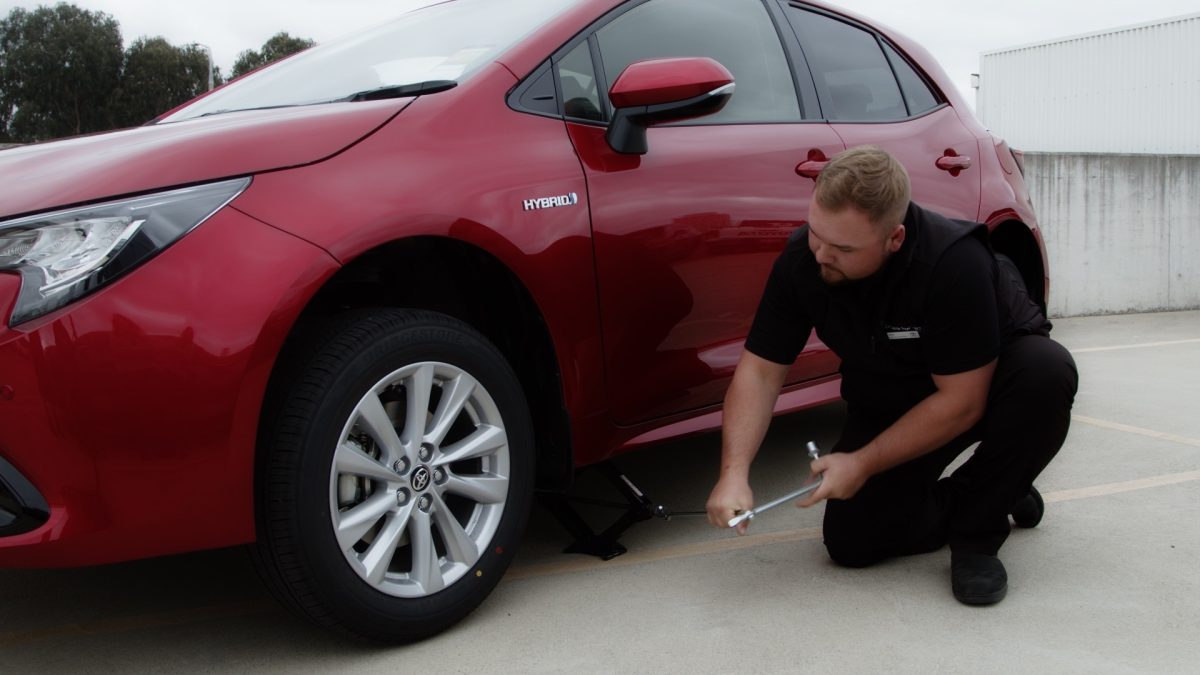
Use the tools or handle to turn the jack so it raises the car. Photo: Michelle Kroll.
4. Use the jack handle or your tools to lift the car. If your jack doesn’t have a built in handle, it should have a place to hook a separate handle that will be provided (sometimes this will hook onto your tyre iron for ease of turning). Twist the handle in a clockwise direction to lift the jack.
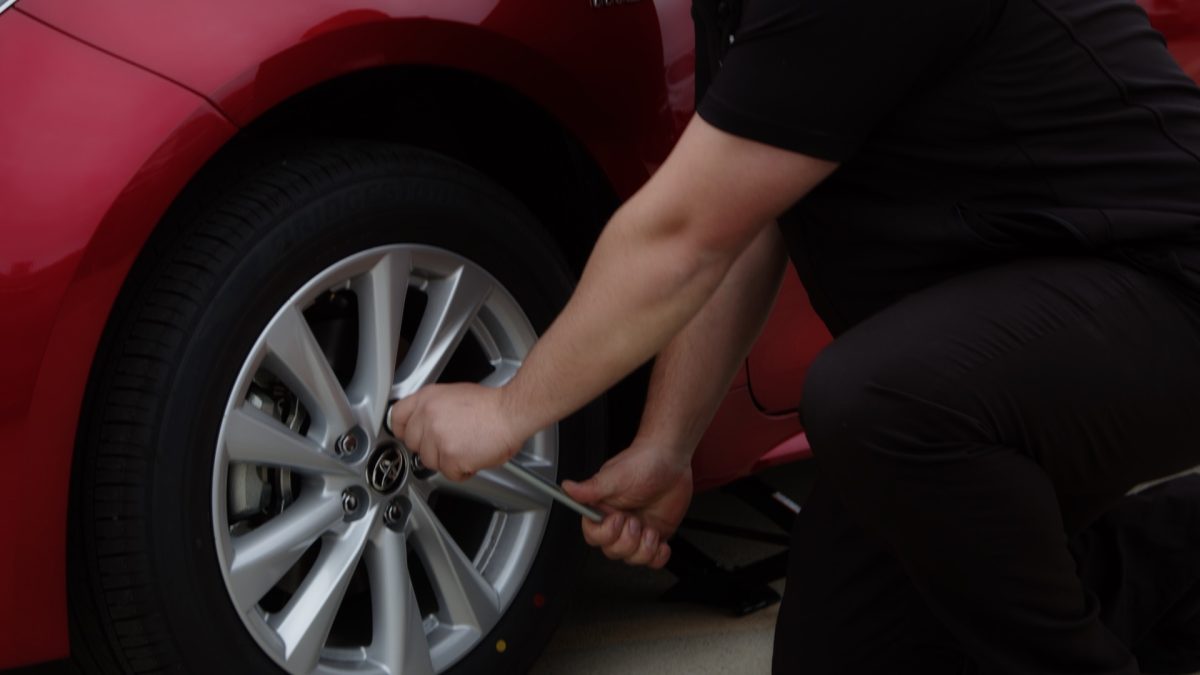
Use the tyre iron to loosen the wheel nuts whilst the tyre is still touching the ground so. the wheel doesn’t rotate at the same time. Photo: Michelle Kroll.
5. Once your car is slightly raised, loosen the wheel nuts on your tyre. It’s important to not lift the car too high before you do this as the wheel will rotate whilst you do this if it isn’t secured by the ground. Using the tyre iron, loosen the nuts on your tyre one by one – at this stage you’re just loosening the nuts, not removing them.
6. Finish raising the jack until the wheel is off the ground. You don’t want the car to be too high – just high enough that the wheel is off the ground.
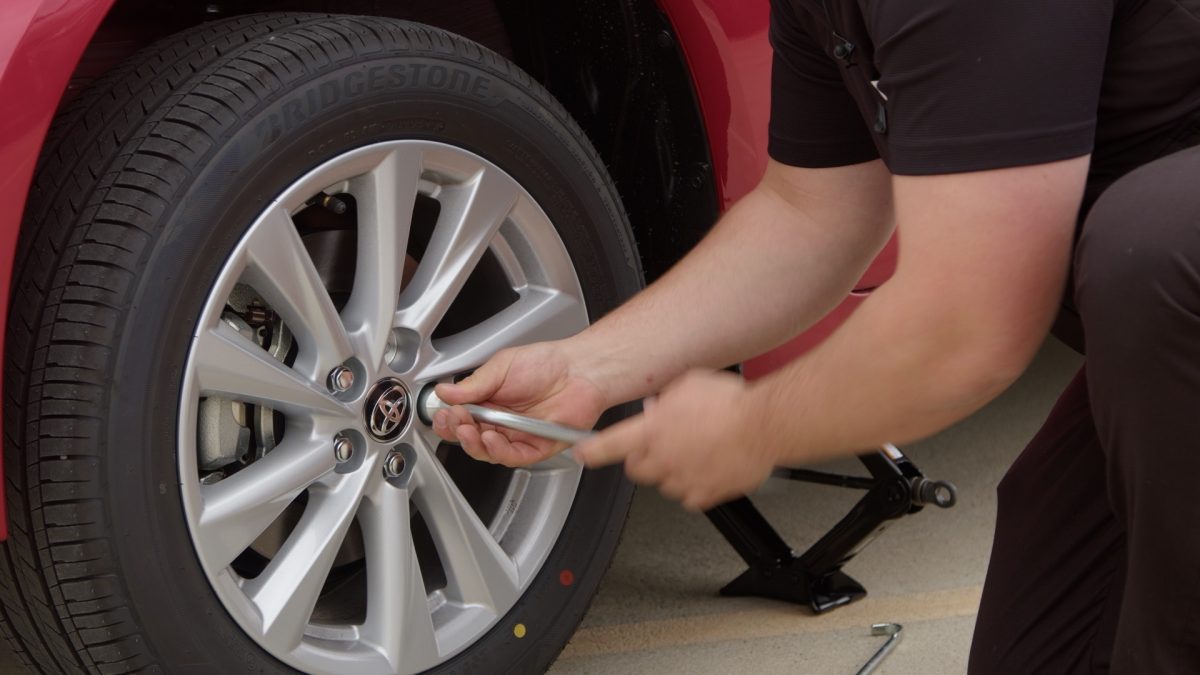
With the tyre now lifted completely off the ground, remove the wheel nuts entirely so the tyre may be taken off the vehicle. Photo: Michelle Kroll.
7. Using the tyre iron, remove the wheel nuts. Once all the nuts are removed, you will be able to gently slide the tyre off the car. Make sure to keep those nuts somewhere safe!
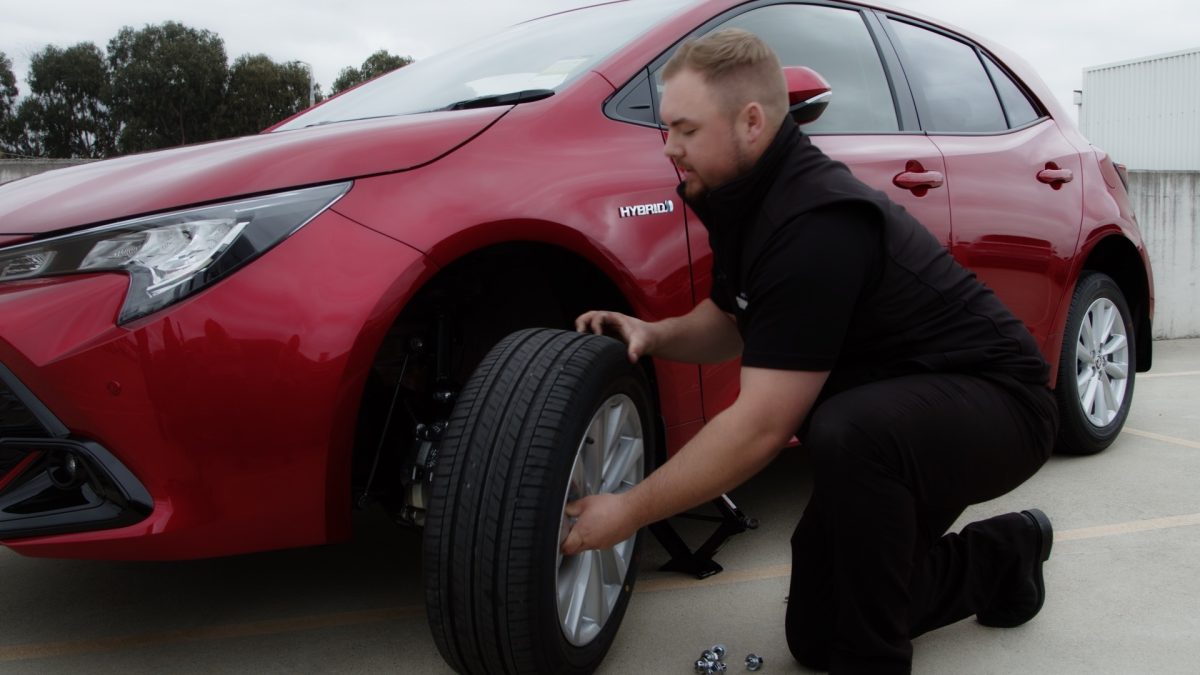
Gently take the tyre off the vehicle and replace it with the spare tyre. Photo: Michelle Kroll.
8. Position your spare tyre in place, and apply the wheel nuts by hand. At this stage, you just want to get all the nuts in position, ready to be tightened.
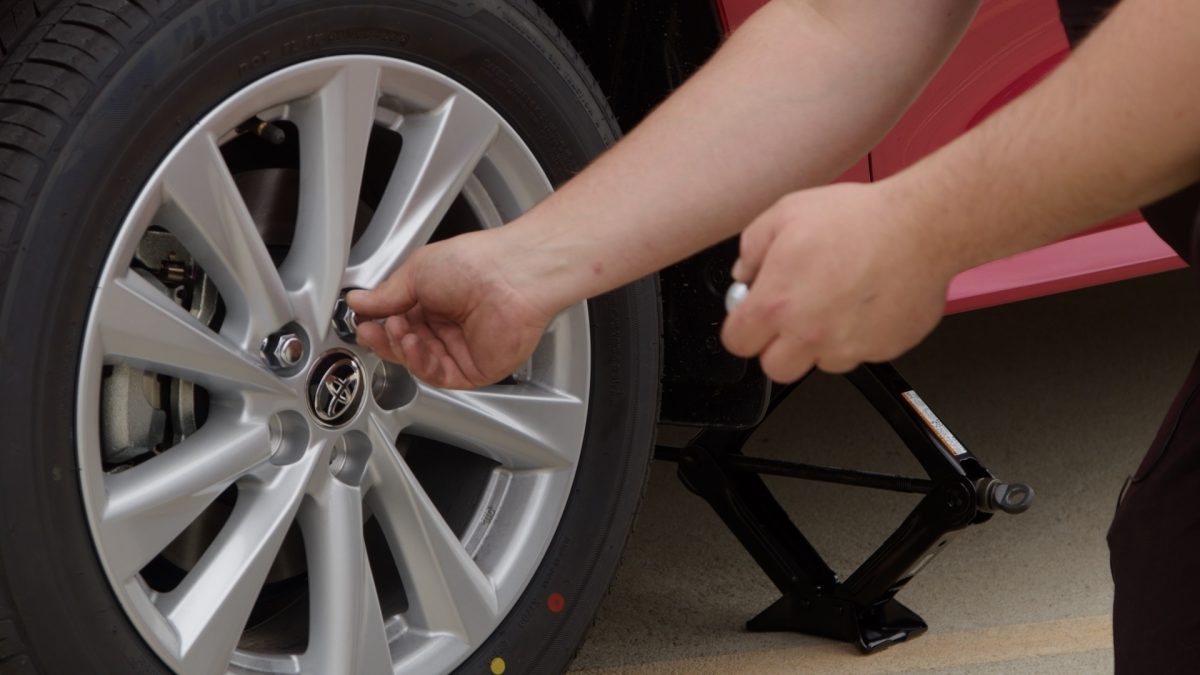
Place the wheel nuts back on the tyre. These can be placed by hand first and then tightened with the tyre iron later. Photo: Michelle Kroll.
9. Tighten the wheel nuts with the tyre iron. Now you can tighten the wheel nuts with the tyre iron, just make sure not to make them too tight. They just need to be firm and secure. Always tighten your nuts in a ‘star pattern’ – i.e. tighten one nut, skip the next one and tighten the one after, continuing until all are tightened. This helps make sure the tyre is sitting correctly.
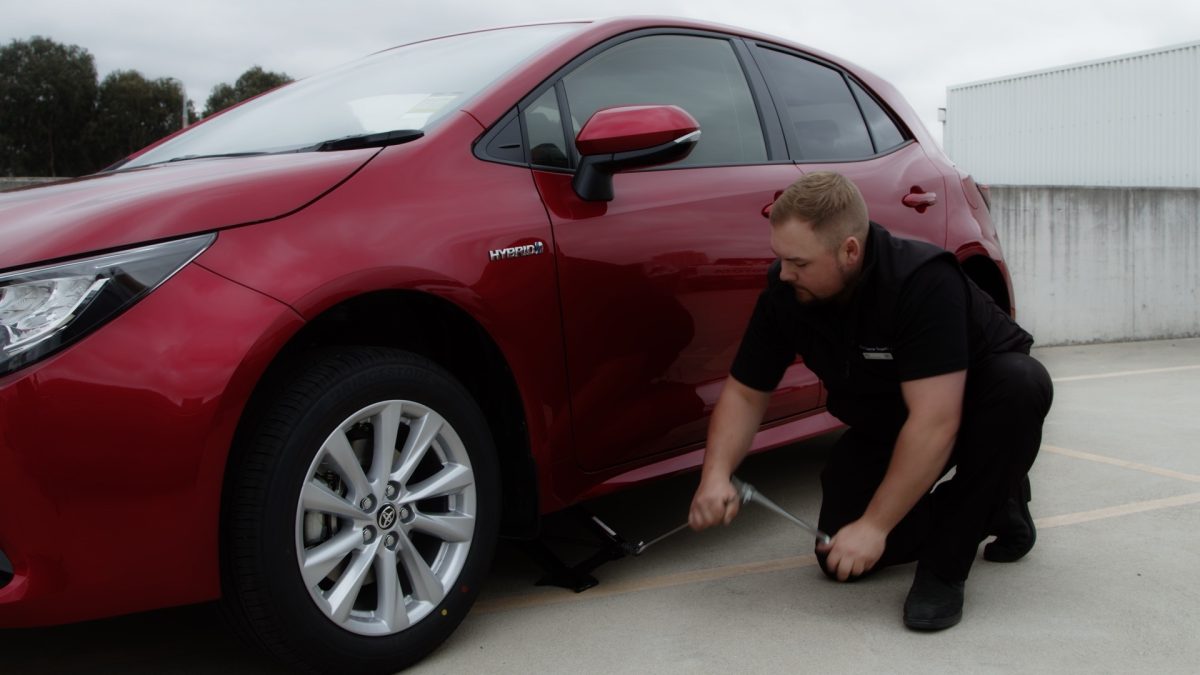
With the tyre completely secured, the jack can be lowered and removed from beneath the vehicle. Photo: Michelle Kroll.
10. Lower the jack and remove it from beneath the vehicle. Turn the handle in an anti-clockwise direction until the jack lowers all the way.
11. Finally, do a final tighten on the wheel nuts. Use the same star pattern to tighten the nuts a final time.
Now you’re ready to hit the road again!


